How to Start a Compost Bin: Your First Fill, Step by Step
November 12, 2026 · 3 min read
You have a bin; now what? A step-by-step guide to setting it up and filling it for the first time, plus what to do during the first few weeks so it starts working fast.
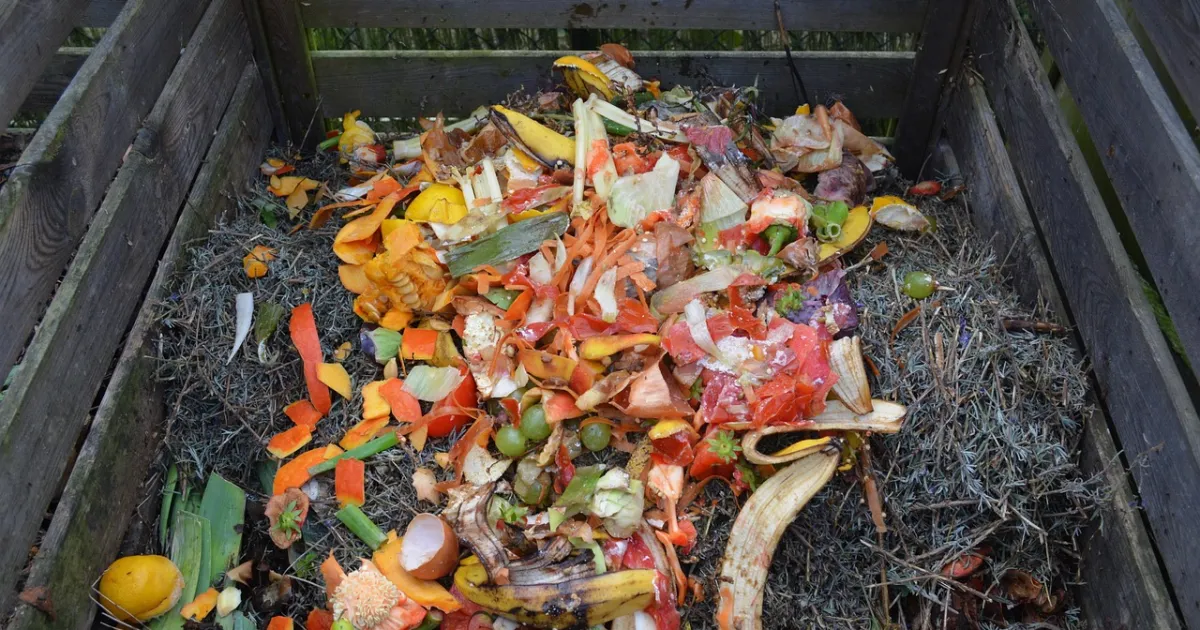
A new compost bin can feel like a box you are not sure how to use. The first fill matters: a good start gets the microbes working quickly and avoids the classic first-timer problems of smell and flies. Here is how to set it up, load it and keep it going for the first weeks. If you have not chosen a bin yet, start with our guide to composting bin types.
Step 1: Put the bin in the right place
- On bare, level soil, not on concrete or decking, so soil life can move in and water can drain.
- In partial shade, so it does not dry out in summer.
- Easy to reach from the kitchen door and within hose reach.
- If rodents are common, set a sheet of wire mesh under the bin before you start.
Step 2: Lay a base layer
Put 4 to 6 inches (10 to 15 cm) of coarse material on the bottom: small twigs, straw or shredded woody stems. This lets air into the bottom of the pile and helps drainage.
Step 3: Gather enough material for the first load
A bin starts best with a good amount of material at once rather than one bowl of peelings. Collect kitchen scraps for a few days in a lidded caddy and gather a bag of dry leaves or shredded cardboard. Aim for roughly two to three parts browns to one part greens by volume.
Step 4: Fill in layers
- Add a layer of browns over the base.
- Add a layer of greens: kitchen scraps, coffee grounds, fresh garden trimmings.
- Cover with another layer of browns.
- Add a shovel of garden soil or finished compost if you have it: it brings in microbes.
- Repeat until you have used up your material.
Step 5: Water it
Dry materials will not break down. Sprinkle water over each brown layer as you build, until the whole load feels like a wrung-out sponge. Close the lid.
Step 6: The first weeks
- Keep adding: each time you add scraps, cover them with browns. Keep a bag of leaves or a box of shredded paper next to the bin.
- Turn or poke: once a week, mix the pile with a fork or an aerator tool.
- Check moisture: squeeze a handful; add water if it crumbles dry, add browns if it drips.
- Feel for warmth: a center that feels warm a week or two after a good fill means it is working.
Common first-month problems
| What you see | Why | What to do |
|---|---|---|
| Smell | Too many greens or too wet | Add browns, mix |
| Fruit flies | Scraps left uncovered | Always cover with browns |
| Nothing happening | Too dry, too small or too many browns | Add water and greens, add more material |
| Ants | Pile too dry | Water and mix |
What comes next
From here, the bin simply needs regular additions, occasional turning and patience. For the full picture, including what never goes in and how to know when compost is ready, read our guide to starting composting at home and our list of composting do's and don'ts.
Questions
What do you put in the bottom of a compost bin?
A layer of coarse material such as small twigs or straw, 4 to 6 inches deep, so air can reach the bottom of the pile.
Do I need to add soil to a new compost bin?
It is not required, but a shovel of garden soil or finished compost brings in microbes and helps the pile get started.
How long before a new compost bin starts working?
A well-mixed, moist first load usually starts warming within one to two weeks.
 Composting Worms: Which Worms to Use and How to Care for Them
 Composting Do's and Don'ts: What to Add, What to Avoid
 How to Make a Compost Bin: 4 DIY Builds From Easy to Advanced